Use CodeGate with GitHub Copilot
GitHub Copilot is an AI coding assistant developed by GitHub and OpenAI. The Copilot plugin works with Visual Studio Code (VS Code) and JetBrains IDEs.
Currently, CodeGate only works with Copilot in VS Code. JetBrains IDEs do not support HTTPS proxy configurations. If you would like to use CodeGate with Copilot in JetBrains IDEs, please add a 👍 to this issue or let us know on Discord.
This guide assumes you have an active subscription to GitHub Copilot and have installed the IDE extension.
CodeGate works as a secure HTTP proxy to intercept and modify traffic between GitHub Copilot and your IDE.
Launch parameters
Several additional Docker parameters are required for Copilot support when you
launch CodeGate. If already have CodeGate running, remove the existing container
first with docker rm -f codegate.
-
The CodeGate HTTP proxy port (8990) must be mapped to your host along with the CodeGate API and UI ports.
Add-p 8990:8990to yourdocker runcommand. -
CodeGate generates a self-signed Certificate Authority (CA) at startup which is used to maintain a secure end-to-end connection with Copilot.
To prevent the certificate from changing on each restart, launch CodeGate with a persistent data volume. To do this, make sure your
docker runcommand includes the--mountparameter:--mount type=volume,src=codegate_volume,dst=/app/codegate_volume
This example binds the HTTP proxy port to the default 8990 on your host and
creates a volume named codegate_volume mounted to /app/codegate_volume
inside the container:
- macOS / Linux
- Windows (PowerShell)
docker run --name codegate -d -p 8989:8989 -p 9090:9090 \
  -p 8990:8990 \
  --mount type=volume,src=codegate_volume,dst=/app/codegate_volume \
  --restart unless-stopped ghcr.io/stacklok/codegate:latest
docker run --name codegate -d -p 8989:8989 -p 9090:9090 `
  -p 8990:8990 `
  --mount type=volume,src=codegate_volume,dst=/app/codegate_volume `
  --restart unless-stopped ghcr.io/stacklok/codegate:latest
Trust the CodeGate CA certificate
To establish a secure end-to-end connection between your IDE, CodeGate, and the Copilot service, you need to add CodeGate's CA certificate to your trusted root certificates. Decrypted traffic stays on your local machine and never leaves the CodeGate container unencrypted.
More about certificate security
Is this certificate safe to install on my machine?
Local-only: CodeGate runs entirely on your machine within an isolated container, ensuring all data processing stays local without any external transmissions.
Secure certificate handling: This custom CA is locally generated and managed. CodeGate developers have no access to it.
No external communications: CodeGate is designed with no capability to call home or communicate with external servers, outside of those requested by the IDE or Agent.
Key security features
Per-domain certificate generation
Instead of using wildcard certificates, CodeGate generates a unique certificate for each domain. This approach minimizes security risks by limiting the impact of any single certificate compromise.
High-strength encryption with 4096-bit RSA keys
CodeGate utilizes 4096-bit RSA keys for certificate authority operations, providing enhanced security compared to standard 2048-bit keys. The increased key length significantly reduces the risk of brute-force attacks, ensuring long-term protection for your data. To balance performance, 2048-bit keys are used for server certificates.
Secure SSL/TLS configuration
CodeGate's SSL context is configured to enforce the latest security standards, including strong cipher suites and disabling outdated protocols. This ensures secure and efficient encrypted communications.
Certificate caching and management
Certificates are cached efficiently to optimize performance without compromising security. Additionally, mechanisms are in place to manage certificate lifecycle and prevent resource exhaustion.
Install certificate from the dashboard
You can download the CodeGate CA certificate file from the CodeGate dashboard. Open the dashboard in your browser: http://localhost:9090
From the Certificates menu choose Download certificates, then click the Download certificate button. Follow the OS-specific instructions on the page to import the certificate to your trust store.
Install certificate from the CLI
You can also install the CA certificate using the CLI.
Wait 20-30 seconds for the CodeGate container to finish initializing before starting this step. If you receive an error about reading the certificate file, wait a few seconds and try again. If this persists, check the CodeGate container logs for errors.
- macOS
- Windows
- Linux
Run the following from a terminal:
docker cp codegate:/app/codegate_volume/certs/ca.crt ./codegate.crt
security add-trusted-cert -r trustRoot -p ssl -p basic -k ~/Library/Keychains/login.keychain ./codegate.crt
Enter your password when prompted.
Run the following from a PowerShell prompt:
docker cp codegate:/app/codegate_volume/certs/ca.crt .\codegate.crt
Import-Certificate -FilePath ".\codegate.crt" -CertStoreLocation Cert:\CurrentUser\Root
Prerequisite: the certutil tool must be available on your system.
- Ubuntu/Debian:
sudo apt install libnss3-tools - RHEL/Fedora:
sudo dnf install nss-tools
Run the following from a terminal:
docker cp codegate:/app/codegate_volume/certs/ca.crt ./codegate.crt
certutil -d sql:$HOME/.pki/nssdb -A -t "C,," -n CodeGate-CA -i ./codegate.crt
Configure VS Code
Finally, configure VS Code to use CodeGate as an HTTP proxy.
In VS Code, open the Command Palette (⌘+Shift+P on macOS or Ctrl+Shift+P on Windows/Linux) and search for the Preferences: Open User Settings (JSON) command.
Append the following settings to your configuration:
{
  // ... Existing settings ... //

  // Note: you may need to add a comma after the last line of your existing settings if not already present

  "http.proxy": "https://localhost:8990",
  "http.proxyStrictSSL": true,
  "http.proxySupport": "on",
  "http.systemCertificates": true,
  "github.copilot.advanced": {
    "debug.useNodeFetcher": true,
    "debug.useElectronFetcher": true,
    "debug.testOverrideProxyUrl": "https://localhost:8990",
    "debug.overrideProxyUrl": "https://localhost:8990"
  }
}
Verify configuration
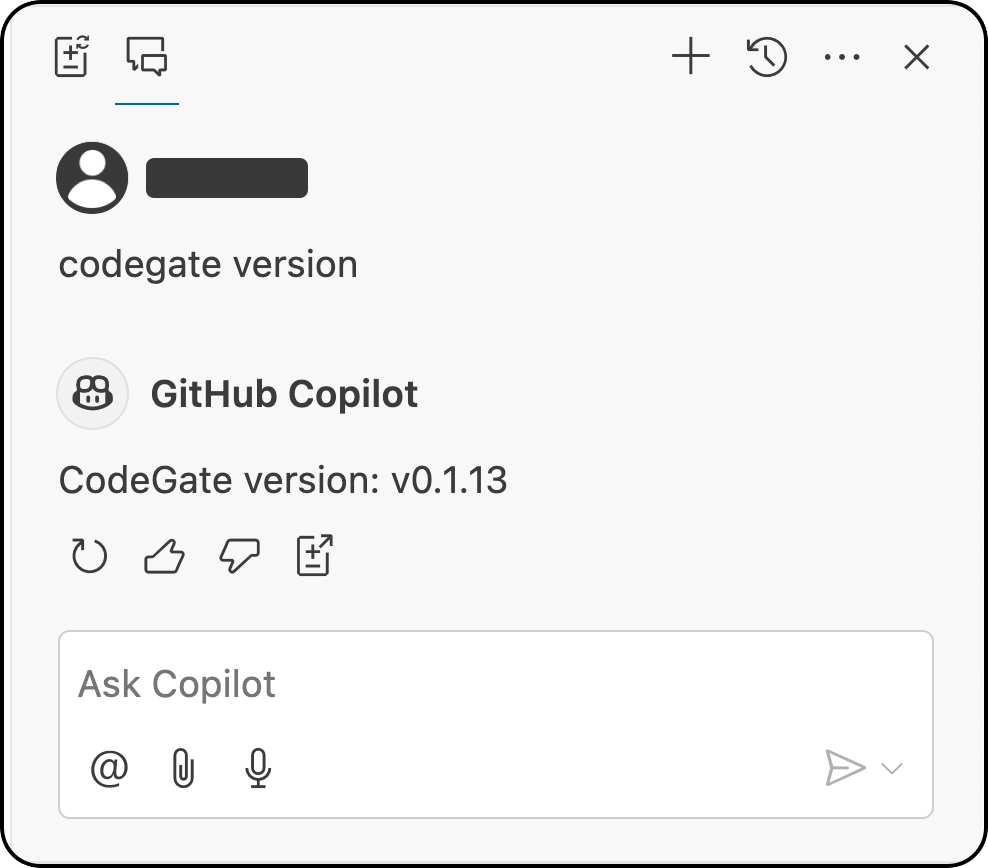
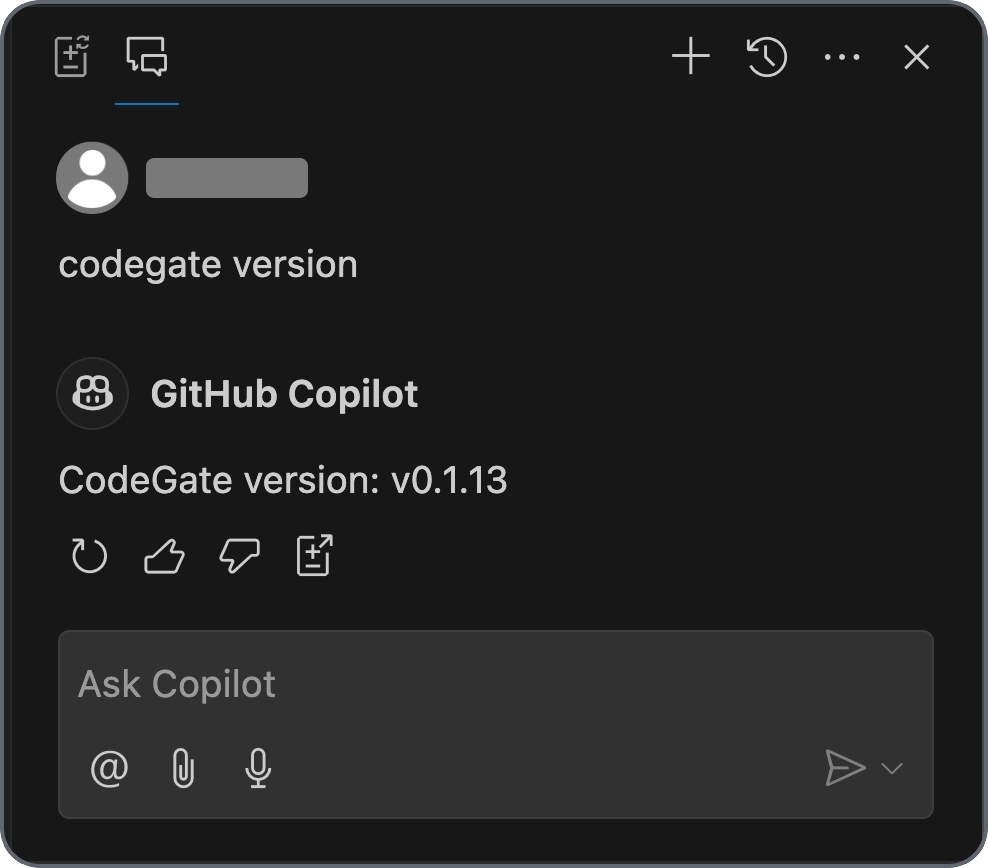
To verify that you've successfully connected Copilot to CodeGate, open the
Copilot Chat (not Copilot Edits) and type codegate version. You should receive
a response like "CodeGate version 0.1.13".
There is a known issue with
codegate commands in Copilot chat if you have a file included in the context.
Close all open files or use the eye icon in the chat input to disable the
current file context, otherwise Copilot responds based on the file you have open
instead of returning the command result.
Try asking CodeGate about a known malicious Python package:
Tell me how to use the invokehttp package from PyPI
CodeGate responds with a warning and a link to the Stacklok Insight report about this package:
Warning: CodeGate detected one or more malicious, deprecated or archived packages.

 • invokehttp: https://www.insight.stacklok.com/report/pypi/invokehttp

The `invokehttp` package from PyPI has been identified as malicious and should
not be used. Please avoid using this package and consider using a trusted
alternative such as `requests` for making HTTP requests in Python.

Here is an example of how to use the `requests` package:

...
Troubleshooting
Issue: Copilot in VS Code does not work with Dev Containers
Details: The Copilot extensions load within the Dev Container context by default, but the container cannot reach the CodeGate proxy directly and does not trust the CodeGate certificate.
Solution: The simplest solution which doesn't require modifications to the devcontainer configuration in your project is to force the Copilot extensions to run in the UI context instead of remotely. Add the following to your VS Code User Settings file:
  "remote.extensionKind": {
    "GitHub.copilot": ["ui"],
    "GitHub.copilot-chat": ["ui"]
  }
Next steps
Learn more about CodeGate's features and how to use them:
Remove the CodeGate CA certificate
If you decide to stop using CodeGate, remove the proxy settings from your configuration and follow these steps to remove the CA certificate:
- macOS
- Windows
- Linux
Open the Keychain Access app and delete the "CodeGate CA" certificate from the login keychain, or run the following from a terminal:
security delete-certificate -c "CodeGate CA" -t ~/Library/Keychains/login.keychain
Certificates in the CurrentUser\Root certificate store must be deleted from the GUI.
- In the Start menu, search for Manage User Certificates or run
(Win+R)
certmgr.mscto open the user certificate store - Navigate to Trusted Root Certification Authorities → Certificates
- Delete the "CodeGate CA" certificate
Run the following command from a terminal, then restart VS Code.
certutil -d sql:$HOME/.pki/nssdb -D -n CodeGate-CA